Green beans are a versatile and delicious vegetable that can be a staple in your diet. Whether you have a bountiful harvest from your garden or you've found a great deal at the farmers' market, learning how to freeze green beans properly is the key to enjoying them throughout the year. In this guide, we'll walk you through the steps of prepping, blanching, and storing green beans to maintain their flavor, texture, and nutritional value.
Prepping Your Green Beans
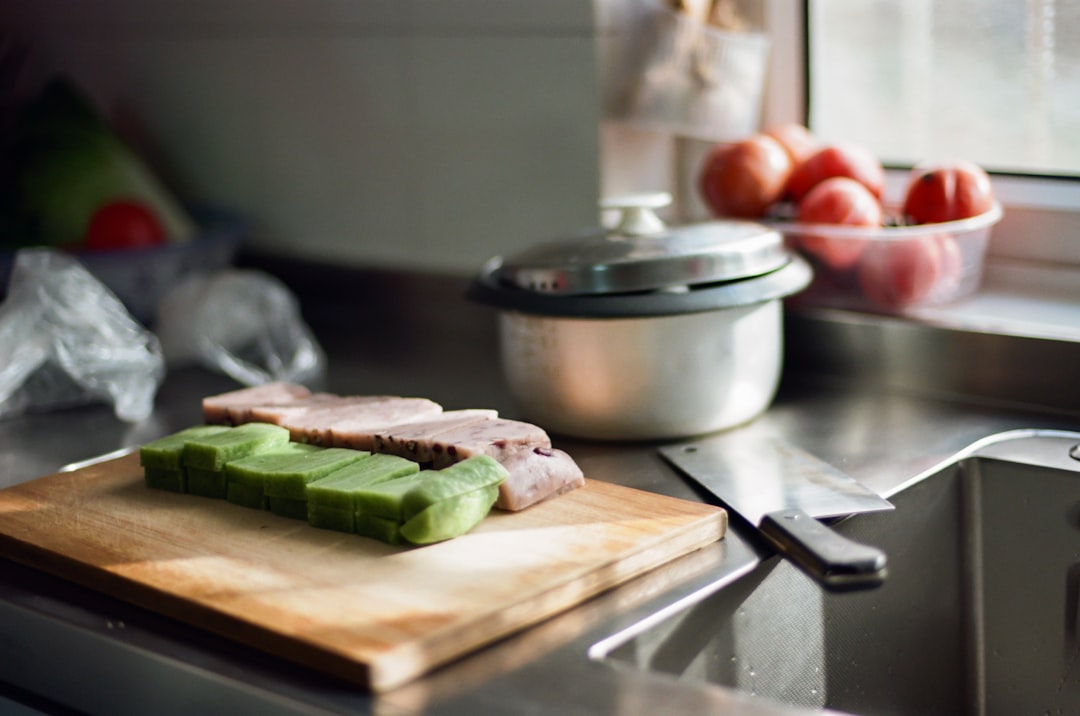
The first step in freezing green beans is prepping them. Start by washing the green beans thoroughly under cold running water. This helps to remove any dirt, debris, or pesticides that may be present on the surface. After washing, pat them dry with a clean kitchen towel or paper towels. Next, trim the ends of the green beans. You can simply snap off the stem end and, if desired, the tip end as well. Some people prefer to leave the beans whole, while others like to cut them into smaller pieces, such as bite - sized lengths. The choice is yours, but keep in mind that smaller pieces may cook more quickly.
Blanching: A Crucial Step
Blanching is an essential step in the freezing process. It helps to stop enzyme activity that can cause the green beans to lose their color, flavor, and nutrients over time. To blanch green beans, bring a large pot of water to a rolling boil. While the water is heating up, prepare a large bowl of ice water. Once the water is boiling, carefully add the green beans to the pot. The general rule of thumb is to blanch whole green beans for about 2 - 3 minutes and cut green beans for about 1 - 2 minutes. However, the exact time may vary depending on the size and freshness of the beans. Use a slotted spoon to remove the blanched green beans from the boiling water and immediately plunge them into the ice water. This rapid cooling process, known as shocking, stops the cooking process and helps to preserve the bright green color and crisp texture of the beans. Let the green beans sit in the ice water for the same amount of time as they were blanched. Then, drain them well.
Storing Your Blanched Green Beans
After blanching and draining, it's time to store the green beans. You have a few options for storage containers. One popular choice is freezer - safe plastic bags. Squeeze out as much air as possible before sealing the bags to prevent freezer burn. Another option is freezer - safe plastic containers. Make sure to leave some headspace in the containers to allow for expansion as the beans freeze. Label the bags or containers with the date of freezing and the contents. This will help you keep track of how long the green beans have been in the freezer and make it easier to find them when you need them.
Tips for Using Frozen Green Beans
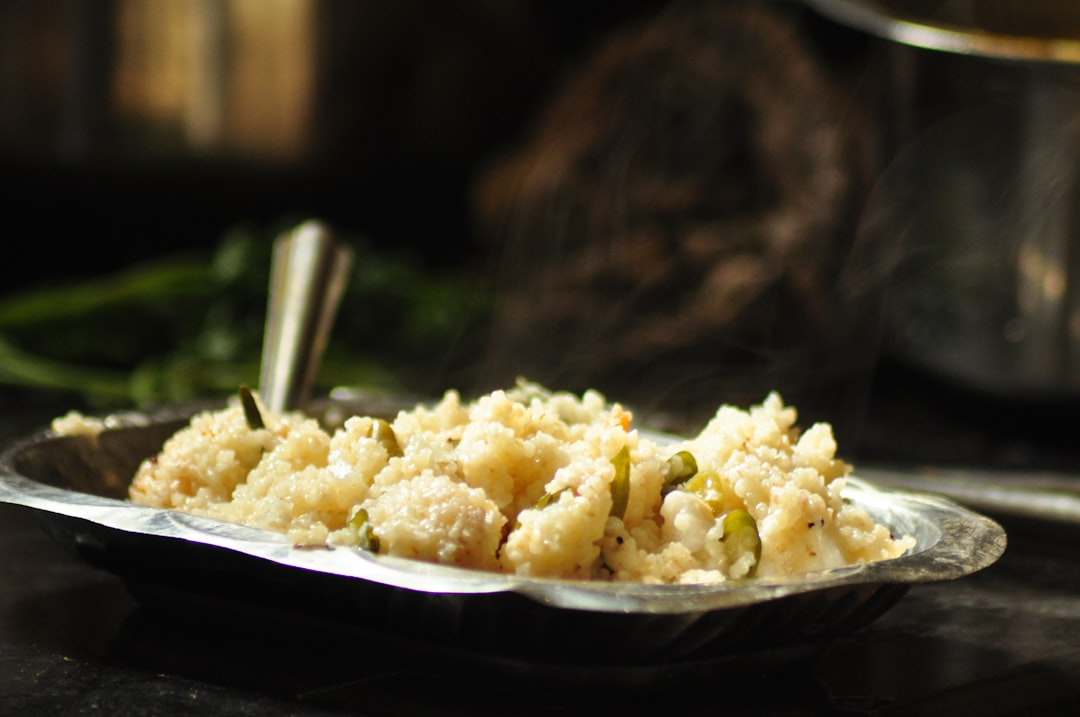
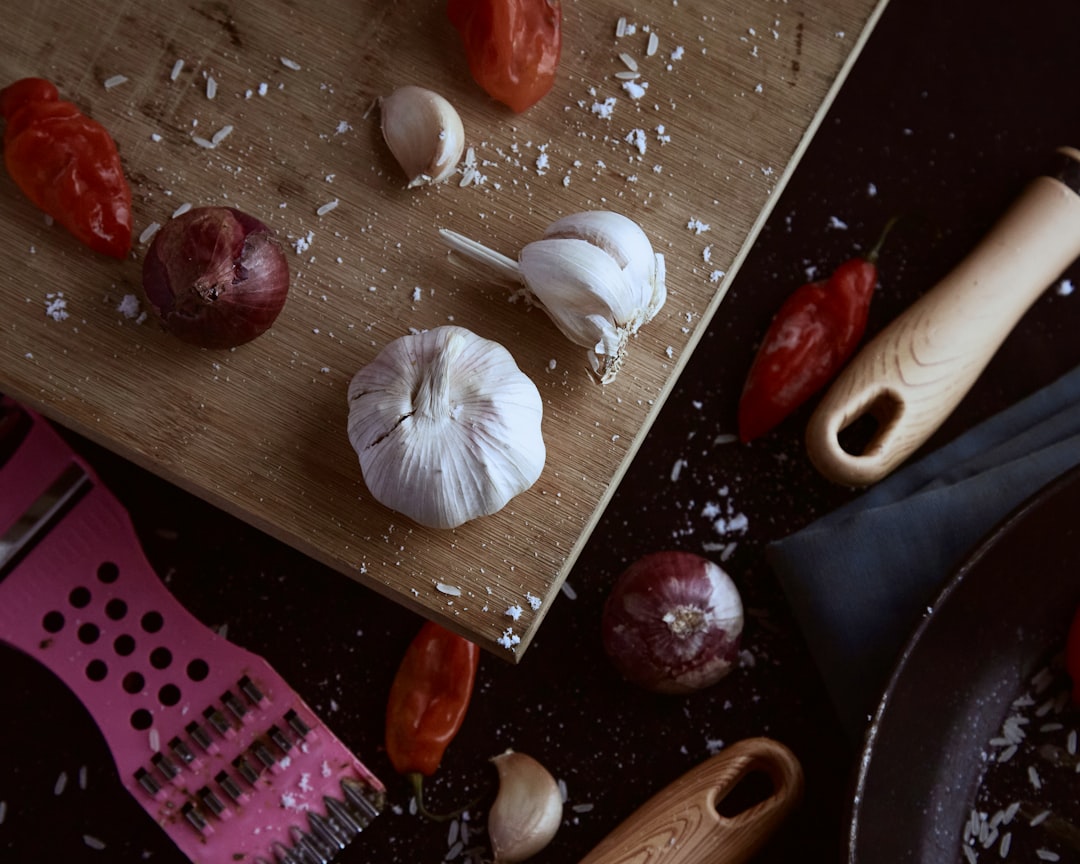
When you're ready to use your frozen green beans, there's no need to thaw them first. You can cook them directly from the freezer. They can be added to soups, stews, stir - fries, or simply steamed. Just adjust the cooking time slightly, as frozen green beans may take a little longer to cook than fresh ones. You can also season the green beans with your favorite herbs and spices to enhance their flavor. For example, a sprinkle of garlic powder, salt, and pepper can make a simple yet delicious side dish.
In conclusion, freezing green beans is a great way to make the most of your garden produce or farmers' market finds. By following these steps of prepping, blanching, and storing, you can enjoy fresh - tasting green beans all year round. So, the next time you have an abundance of green beans, don't let them go to waste. Freeze them and savor the taste of summer even in the coldest months.